Wow! It has been a very long time since I have posted recipes on here! I have been doing lots of cooking and baking though, but my life as a teacher has been so unbelievable busy that I have not had time to spend on my computer blogging. I am off for winter break though, so I will do my best to put up all the wonderful things I have been making in my kitchen! For starters, my grandma and I just made our traditional Italian Ribbon Cookies, which in Italian are known as "Chiacchiere" and we usually make them for the holidays. This recipe has been in my 92 year old grandma's Lopresti side of the family for many generations and we have been making them together ever since I was just a little girl.
Ingredients:
* 2 large eggs
* 1/2 cup of granulated sugar
* 2 tsp. baking powder
* 1/3 cup of Vegetable Oil
* 1/3 cup of 2% or Whole Milk
1 tsp. of vanilla
* 2 1/2 cups of Flour (plus more for rolling later)
* Vegetable Oil for frying
* Confectioners Sugar to sprinkle on top of the ribbons in the end.
* Honey for dipping (optional)
Special Tools Needed:
* A Rolling Pin
* A large flat surface (I use an Extra Large Wooden Board)
* A pizza cutter, knife, or a ravioli cutter (I used a ravioli cutter, because I like the ruffled look on the edge)
* An oil draining station with paper towel
Procedure:
* In a large bowl mix the eggs, and sugar with a whisk
* Add the vegetable oil, milk and vanilla and mix again very well
* Sift the Flour and baking powder into the wet mixture
*at this point mix with a wooden soon or strong spatula, until it forms a dough. (The dough should resemble the texture of cut out cookie dough)
* On a flat surface, cover with a little flour and save some on the side in case you need more.
* Take about a tennis ball size of dough and roll it out with a rolling pin until it is about 1/8 of an inch thick. You can make yours thinner if you prefer a thinner ribbon. They do rise when they fry.
* Cut into about 1/2 by 3 1/2 inch strips. Once you have the strips you can choose to keep them flat ribbons or fold them over into different ribbon look (like the breast cancer ribbon shape). I mix them up and do both. It makes them look very pretty.
* Meanwhile, in a pot for frying, fill the pot at least 3 inches deep with Vegetable Oil and heat until hot.
* Once the Oil is sizzling lower it to a medium/med low heat
* Drop one of the ribbons on into the hot oil, just to test one out to make sure the oil is the right temperate.
* Once you feel the oil is at the perfect temperate you can start to fry the rest by placing about 7 ribbons in the oil at a time. If you put any more, you will not be able to remove them quick enough and they will burn.
*Once one side of the ribbon is a very lightly golden, flip it over for a few more seconds on the opposite side and remove them with a large fork onto paper towel to drain.
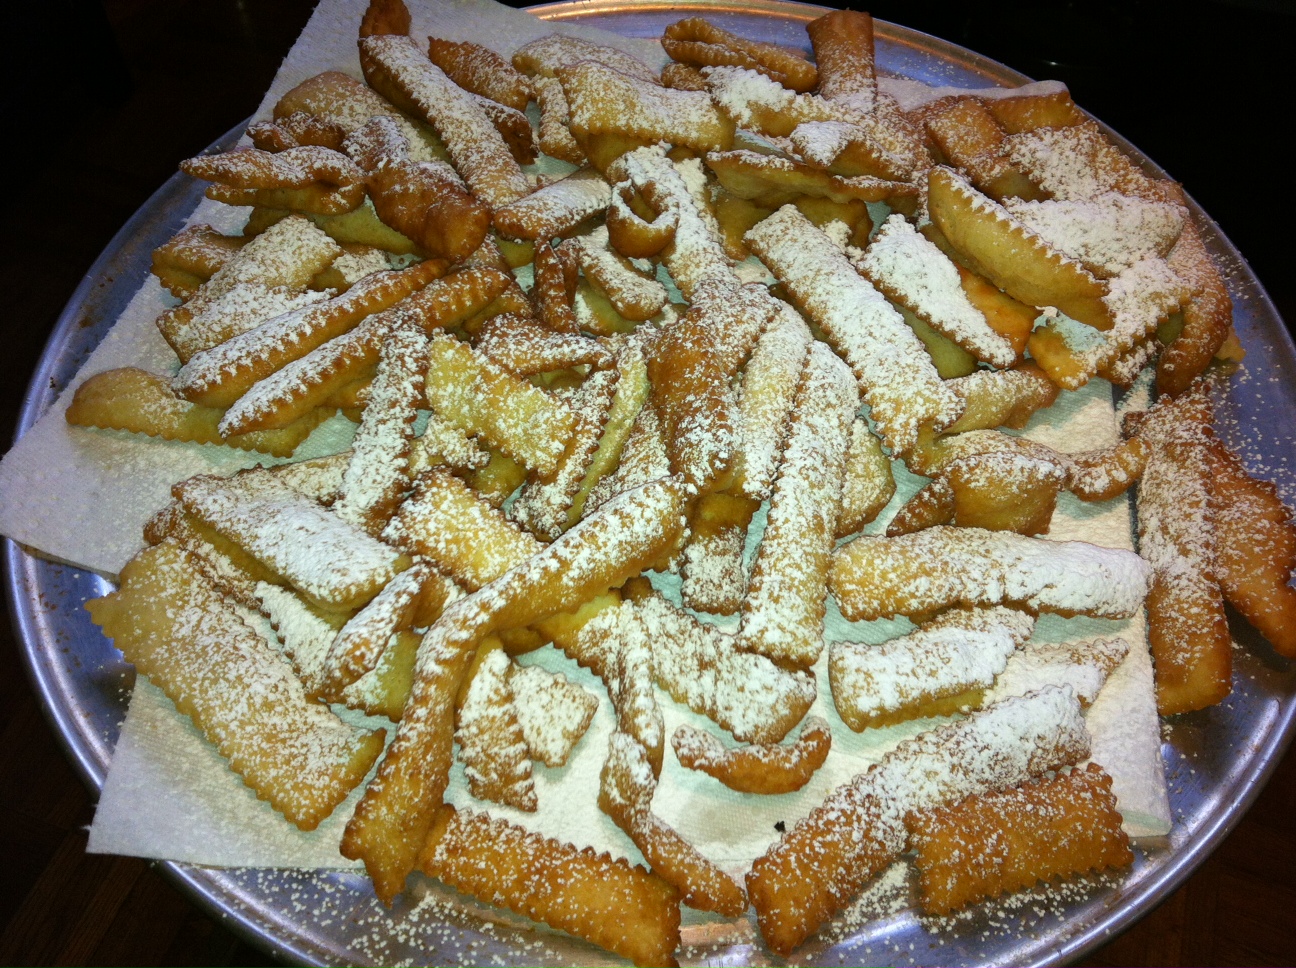
* Once all the ribbons are fried, put some paper towel on a serving platter, arrange the ribbons on top and sprinkle with powdered sugar.
* My family likes to dip them in honey and eat them while they are hot.
* You can wrap the Ribbons in plastic wrap or store in an air tight container for 2-3 days.
Enjoy!
Here is a photo of grandma still making the ribbons after all these years!


.JPG)

No comments:
Post a Comment