Welcome!

Ciao! My name is Yolanda and I'd like to welcome you to my Blog! I have always had a love for cooking, baking and eating. This blog is mainly a place for me to record and share precious family recipes from those living and deceased as well as delicious recipes that my friends have given me throughout the years.

Translate

Showing posts with label Sides and Salads. Show all posts

Sunday, October 5, 2014

Flaky Buttermilk Biscuits

Since Fall has arrived, it has started to get chilly outside, so I made a huge pot of delicious Beef Chili.  I had the entire day free for once and thought it would be the perfect day to attempt homemade biscuits from scratch, instead of Bisquick biscuits or canned biscuits.  I searched Pinterest for tips on getting your biscuits flaky and light inside and then found the perfect recipe on Youtube.  The result was a buttery flaky on the inside and lightly crispy golden on the outside biscuit.  I never realized how inexpensive and easy homemade biscuits are to make and how obviously the taste is much better then the canned version when made the correct way!

Ingredients: Makes about 14 Biscuits
  • 2 1/2 Cups of All Purpose Flour (I used Gold Medal Brand)
  • 1 TBSP of Baking Powder
  • 1/2 tsp. of Baking Soda
  • 1 tsp. of Salt
  • 2 TBSP of Shortening, chilled (I used Butter Flavored Crisco)
  • 1 stick of Unsalted Butter, chilled and cut into tiny pieces (It is very important that it is unsalted and that it is very cold butter)
  • 1 1/4 cups of Cold Buttermilk, minus 2 TBSP.
  • 1/3 cup of All Purpose Flour for Dusting the Surface
  • Cooking Spray for Work Surface
  • 1-2 TBSP of Melted Butter for brushing on biscuits

Tools:
  • Large Flat Surface (I used large Wooden board)
  • Rolling Pin
  • Pastry cutter (or your hands)
  • 3 inch Biscuit Cutter 
  • Large Bowl
  • Fork

Procedure:
  • Pre-Heat Oven to 400 Degrees F.
  • Measure out 2 1/2 Cups of Flour and Place in a large mixing bowl
  • Add Baking Powder, Baking Soda, and Salt and whisk together
                                  

  • Add cut up pieces of chilled Shortening and Cut up pieces of Chilled Unsalted Butter
  • Cut butter into flour mixture with a pastry cutter until the mixture resembles coarse pebbles and then stick it in the fridge for about 10 minutes to get the butter cold again.


  • Pour 1 1/4 cups of the Buttermilk into the flour mixture and mix together with a fork.
                                         

  • Add the remaining 1/4 cup of buttermilk and mix together with a fork until there is no more flour in the bowl and making sure not to overwork it.
                                         
  • Spray your flat surface with Cooking Spray and then cover with 1/3 cup of flour
                                         

  • Place biscuit dough on the flat surface and in the shape of a ball.
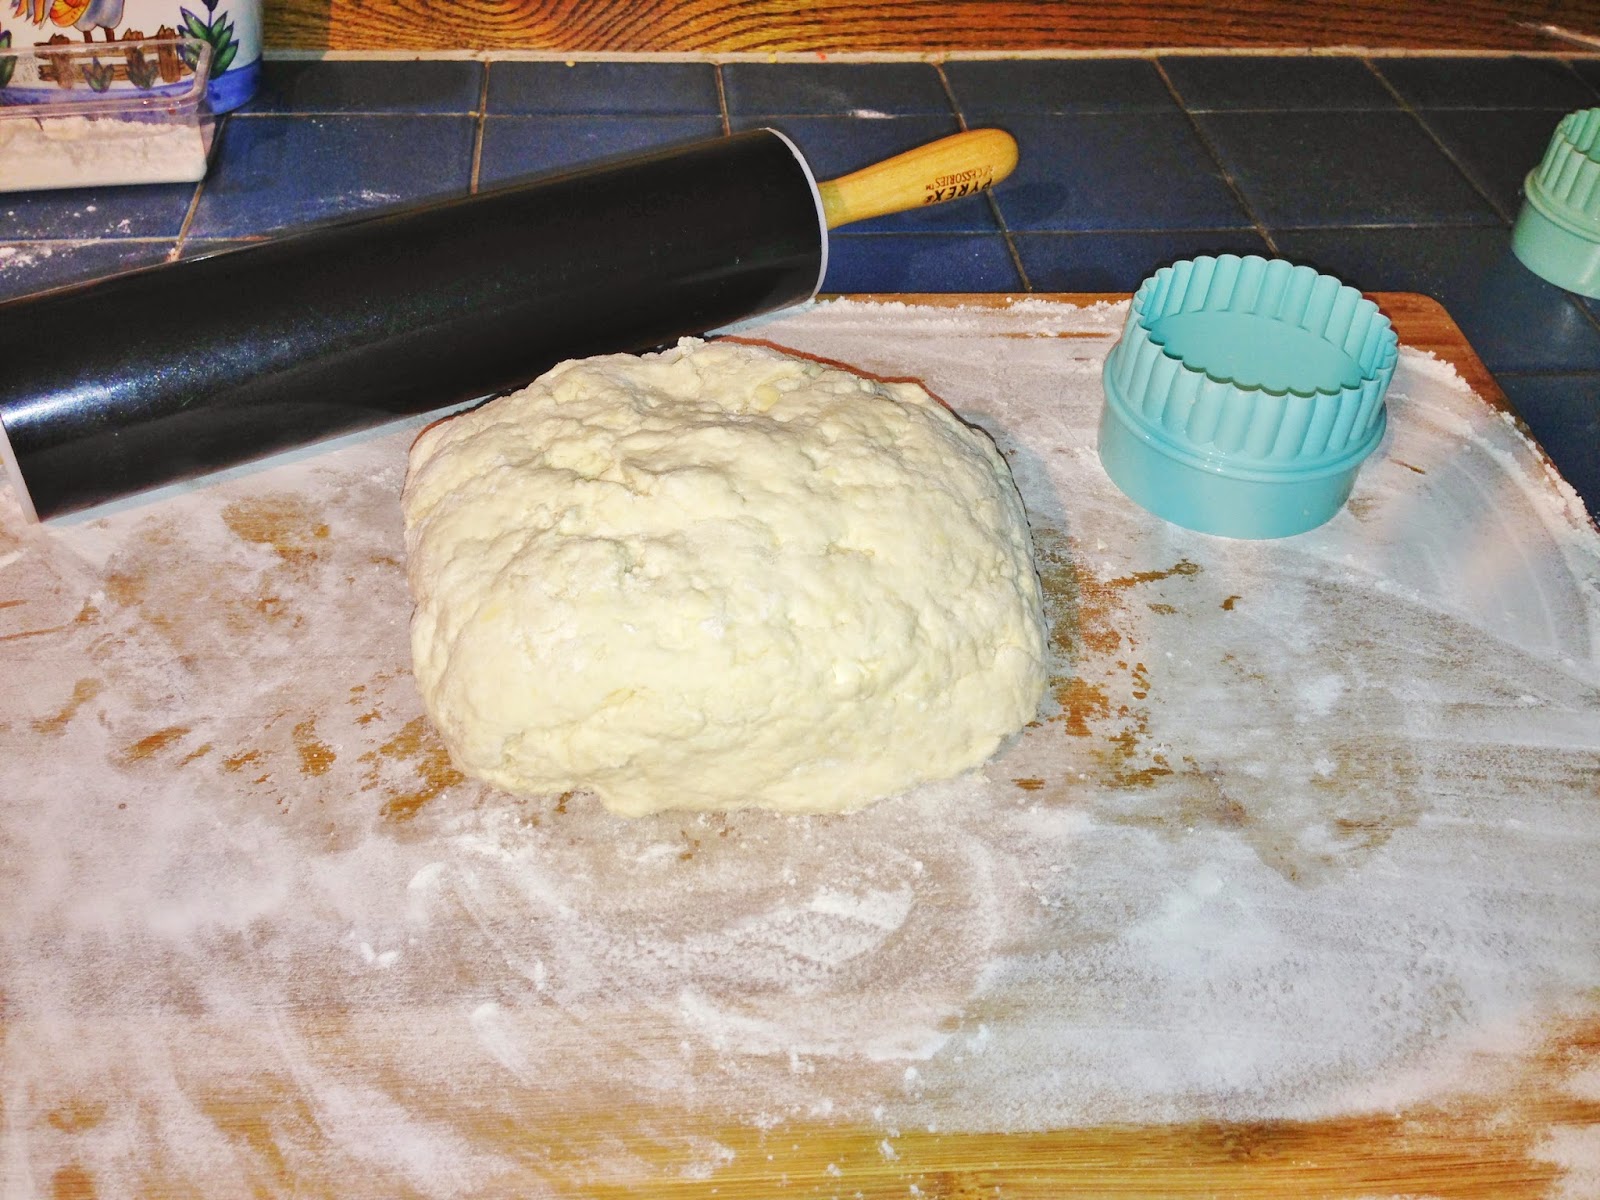
                                       

  • Roll the dough out in the shape of a rectangle and then fold it in thirds (this is what causes the flaky layers to appear inside).
  • Repeat process again.
                                                                                                                                                                                               
  • Roll until the dough is 1/2 inch thick and cut out your biscuits. 
                                         

  • Place onto an ungreased Baking Sheet (I used parchment paper).
                                         

  • Melt about 1-2 TBSP. of butter and brush the butter on top of the biscuits.
                                         

  • Bake for 14 minutes.
                                                                                                                               

* Tip-  Press an indent into the top of each biscuit with your thumb to make even biscuits.
~Enjoy with Chili or butter with Jam.  The possibilities are endless!~*~

Tuesday, July 9, 2013

Tortellini Caesar Salad

        I guess it is about time I add a new recipe post! Work and life in general has kept me busier than usual this year!  I hope everyone is having a fantastic summer! I started teaching summer school a few weeks ago and have also spent the past few months helping plan my sister-in-law Laurie's bridal and bachelorette party which were both successful! My other sister-in-law Marcy, brother-in-law and new baby nephew also came for a week visit from Florida.  The entire family spent our time together at a cozy cottage on Keuka Lake boating, swimming, Kayaking, eating and playing with my nephew Preston.  
My dog and I Kayaking on Keuka Lake
My nephew Preston representing my in-law's store
My sister-in-Law's ugly dress bachelorette party on the lake
On the 4th we invited some friends to join us for a barbecue at the cottage and I made my go to summer salad! It was a big hit as it usually is, so I thought I would share this easy, but amazing salad with all of you.  I got the recipe from a co worker, Debbie that I use to work with and I can't thank her enough for sharing this delicious recipe with me!
Please Click Here for Printable Version:
Salad Dressing Ingredients:
*1/2 cup of Hellmann's Mayo
* Juice from 1/2 a lemon
* 1/4 cup of 2% Milk
* 2 cloves of Fresh Garlic
* 1/3 cup of Grated Parmesan Cheese (the fresh kind, not the one that comes in a jar on a shelf!) (In my picture the cheese is shredded, I have found that using grated is much better!)
* Salt and Pepper to Taste
Salad Dressing Procedure:
 (If you want, this could be made a few days in advanced as well):
* Mince garlic and place in a small bowl or jar
* squeeze half a lemon into bowl (be sure to not get seeds in it)
* Add Milk, Mayo, and Grated Cheese. 
* Add some black ground pepper to taste and mix with a small whisk or fork.  If you are using a jar, just close and shake.
* Cover and place in fridge, until you are ready to serve your salad.
Salad Ingredients:
Salad Procedure:
* Cook your tortellini according to package directions
* When done, drain in cold water and set aside
* Cut up your Romaine Lettuce and place in a large salad bowl
* Add your cooled tortellini
* Add your cut up tomatoes or cherry tomato halves
 
* Pour dressing all over the top and toss until the salad is well coated
* Sprinkle the croutons over the top 
~*~Enjoy!~*~

Sunday, April 28, 2013

Haley's Corn Casserole

It was finally beautiful weather out, so my husband and I invited my family and his parents over for a barbecue.  Jimmy grilled some barbecue chicken, I made a delicious salad (that I will share in my next post) and I also made an amazing corn casserole.  I tend to always buy corn on the cob when we are grilling out, but then I remembered my friend Hailey's Corn Casserole that she brought to my friend Diana's memorial day party last year.  She was kind enough to share the recipe with me! It was a huge hit at my family barbecue and not to mention super easy and quick to make!  It will surely be a regular side dish I make when I just do not feel like having corn on the cob.
Please Click Here for Printable Version
Ingredients:
* 1 (14-16 oz) can of Kernel Corn, Drained
* 1 (14-16 oz) can of creamed corn
* 1 box of Jiffy Corn Muffin Mix
* 2 Eggs
* 1 stick of Butter
* 1 Cup of Sour Cream
Procedure:
* Preheat oven to 350 degrees F
* In a large mixing bowl, put the drain can of corn, can of cream of corn, Jiffy Corn Muffin Mix, and 2 eggs.  Mix well with a spoon.
* Melt butter in a small bowl and pour into the corn mixture.  Stir well.
* Butter a 13x9 casserole dish and pour the corn casserole mixture inside.
* Spoon dollops of sour cream over the top
* Swirl the Sour Cream into the mixture with a spoon or spatula.
* Bake for 45-50 minutes until lightly golden brown on the top.
* Serve hot/warm (the texture inside should be super moist! Cakey yet creamy!
Enjoy!!